(Originally published in 05/11)
For today’s entry, I have decided to look at one of my more recent acquisitions, considered by some to be an “obsolete” firearm, but which I have found in the short time I have had it to be anything but obsolete. It is the Remington 878 Automaster. I know several of you may be scratching your heads thinking I must be mistaken, but this is not a misprint. Everyone has heard of the model 870 Wingmaster, one of the finest pump-action shotguns ever produced. Very few have heard of its sister, the 878 Automaster, a semi-automatic shotgun based on the 870 architecture. And with good reason… the 878 was only manufactured for five years, with somewhere in the neighborhood of 63,000 (give or take a few) Automasters produced. These were heady days for Remington, a company at the top of its game and which was putting out some of the finest firearms in the world. It was also a time for innovation and experimentation, and Remington was making the most of it. During the early part of the 1960s, Remington was manufacturing and marketing no less than four different autoloading shotgun designs: the model ’48 (’48 – ’68), the model 58 (’56 – ’63), the model 878 (’59 – ’63), and the model 1100 (’63 – present). Eventually, the 1100 design won out, but many feel that all of their designs were effective platforms.
The 878 utilizes a gas piston operated by siphoning off combustion gases from the barrel. Two gas ports located in the barrel ring direct the gases down into the magazine cylinder, where the piston assembly is located. The piston is then forced backward, operating the action bar which opens the bolt, ejecting the spent round, while the next cartridge is pushed out of the magazine, into the receiver. The piston return spring then forces the piston and action bar back forward, allowing the bolt to return into battery, directing the new cartridge up and into the chamber. It is a slick, easy action in operation, and the mechanism greatly reduces felt recoil as so much energy is redirected into operating the piston. And, unlike the model 58, there is no need to adjust the gas feed for different power cartridges.
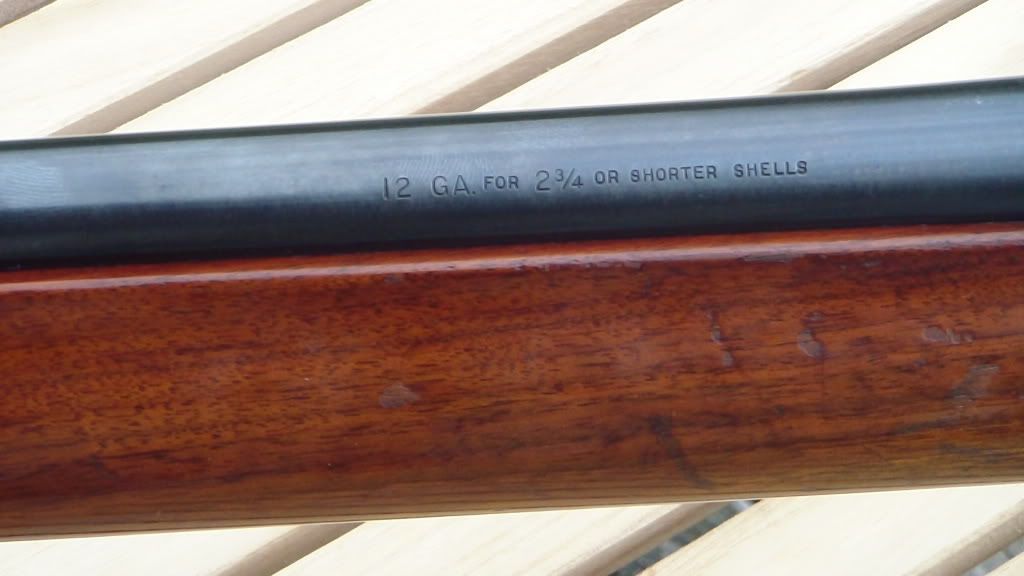
One downside to having the piston located in the magazine cylinder, however, is that the capacity of the magazine itself is reduced. The 878 has a magazine capacity of two shells (with one in the chamber making a total of three shots) — the space that in the 870 is taken up by shells three through five is now home to the piston assembly and the return spring. This is not an issue for me in that I am limited to three shots by law for migratory birds, anyway. And since the 878 was designed to use 2.75″ shells only, I will not be using it for turkey or deer hunting, so migratory birds and clay pigeons will be my primary use for this gun.
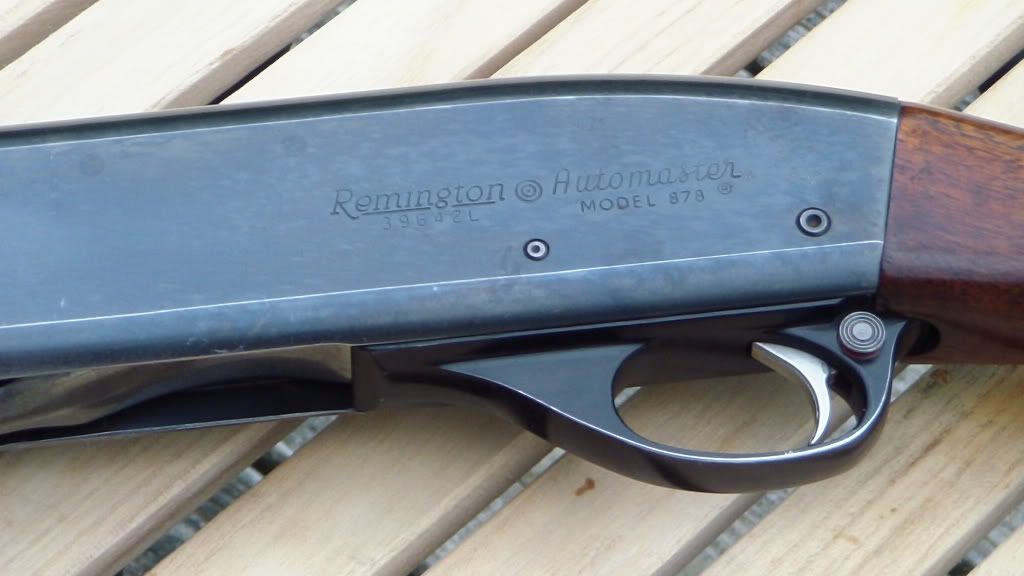
My Automaster is a 12 gauge, 28″ barrel with a fixed modified choke. I of course got it used, and it came with no paperwork, so I called Remington to obtain a copy of the owner’s manual, which they are sending me (more on this later). According to the very friendly and helpful gentleman I spoke with at Remington, it was manufactured in 1960. There is some light rust in one spot on the receiver, as well as a small spot on the bolt, which I need to touch up, and the bluing is a bit thin in several places. The wood is nice, but has several dings and scratches which I need to address, as well. All in all, not too bad for a gun made fifty-one years ago.
I had a chance to test the Automaster by shooting some clays a few days ago. I was using Remington Lead Game load, 12 gauge, 2.75″, 7/8 oz., 7 1/2 shot… a very light load, which is what Remington recommends for this gun, as today’s modern loads may be a bit too heavy for the antiquated gas system to handle. I fired fifty rounds through the gun, without any malfunctions of any kind. The action cycled well, very smoothly, ejecting the spent shells several feet away from me, even considering the light loads I was using. As I said above, the felt recoil was negligible… not like shooting a 12 gauge at all. The gun is very light, mounts easily to the shoulder, and the 28″ barrel swings very easily and smoothly. The trigger pull is fairly light (ahh, those were the days when guns were designed by shooters, not lawyers), and there is no slop in it either. I had no problems slapping it as I was swinging through the clays. I was very pleased with the gun’s performance (my own performance, however, is a different matter altogether).
One of the only issues I have had with this gun is finding out how to clean it. Anyone who has had a gas-operated firearm knows that in order to keep the gun functioning properly, one must keep the gas system clean. Now, for the life of me, I could not figure out how to remove the gas piston so that I could clean it. So, naturally, I hit the internet to find out how to do so. And much to my chagrin, I could find no information at all on this shotgun. Oh, there are plenty of people out there who are more than willing to sell you a copy of an owner’s manual, or a copy of a schematic, or a copy of two pages from an American Rifleman magazine from 1961 that shows how to take down the 878 (for a mere $4.98 + $3.00 shipping, I might add). This just burns me up. But, based on the condition of the outside of this gun when I got it, I was naturally concerned about the inside of it as well, so I broke down and bought a Remington Arms Factory Gunsmith Service Manual for the 878 (turns out it was a copy, as well) for a measly $11.25, shipping included.
Now, we live in an age where information is power. And I just spent eleven bucks in order to get some information that should be available for free (granted, Remington is sending me the owner’s manual for free, so kudos to them… it is service like this that keeps me coming back to them). So I am going to post a series of photographs showing you how to disassemble the model 878 to remove the gas piston for cleaning, so hopefully no one will have to pay outrageous prices for photocopies of gun manuals again. (It should go without saying that if you the reader are not confident in your ability to disassemble and reassemble any firearm properly, you should seek the assistance of a trained professional. If you choose to continue, you alone are solely responsible for any mishaps, including injury or death, that you might experience as a result of failing to properly reassemble your firearm. In other words, I assume no responsibility for your mistakes.)
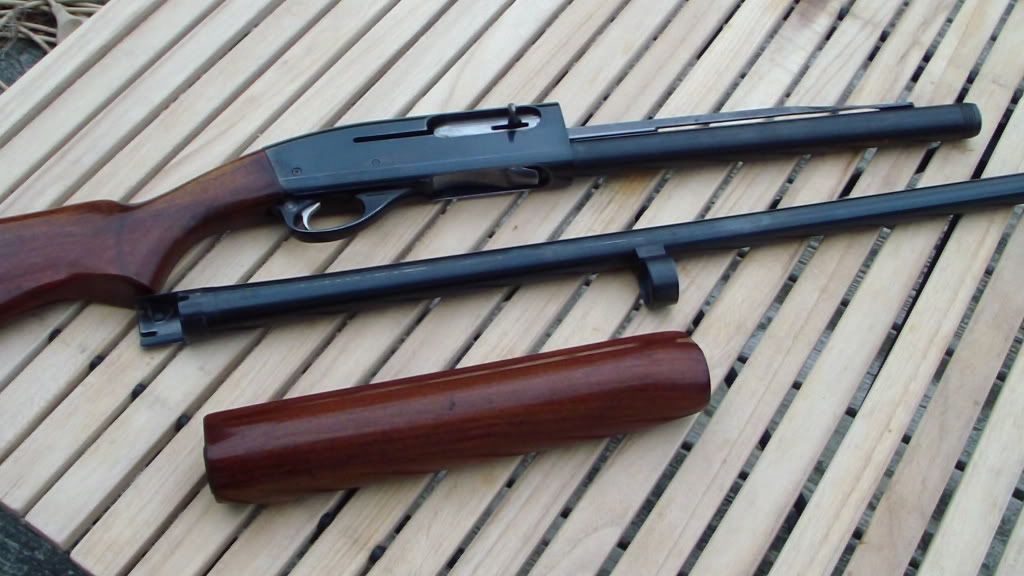
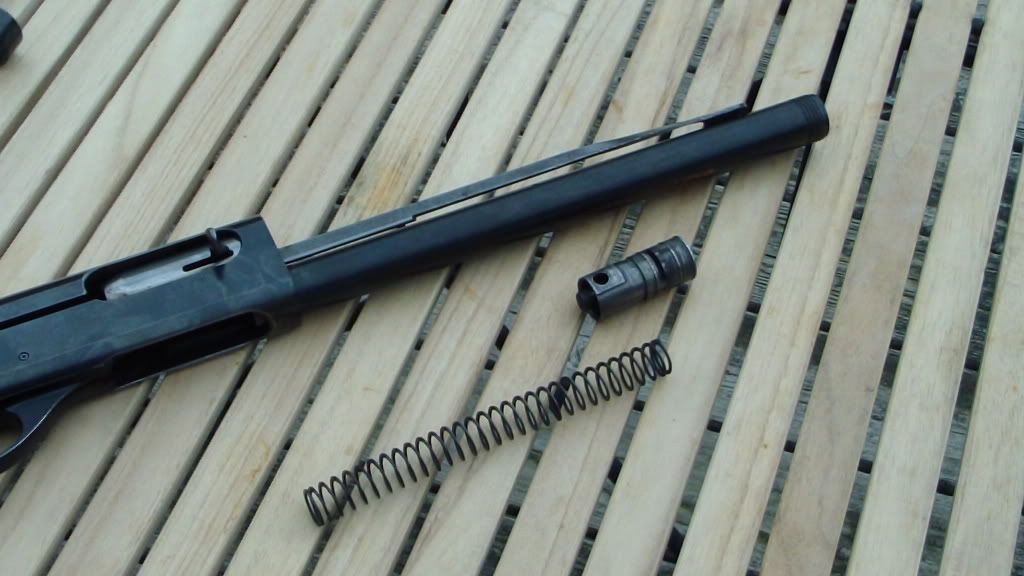
First, here is the 878:

Before working on any firearm, check to make sure it is unloaded… then check again.
Now, first, remove the magazine cap by unscrewing it.

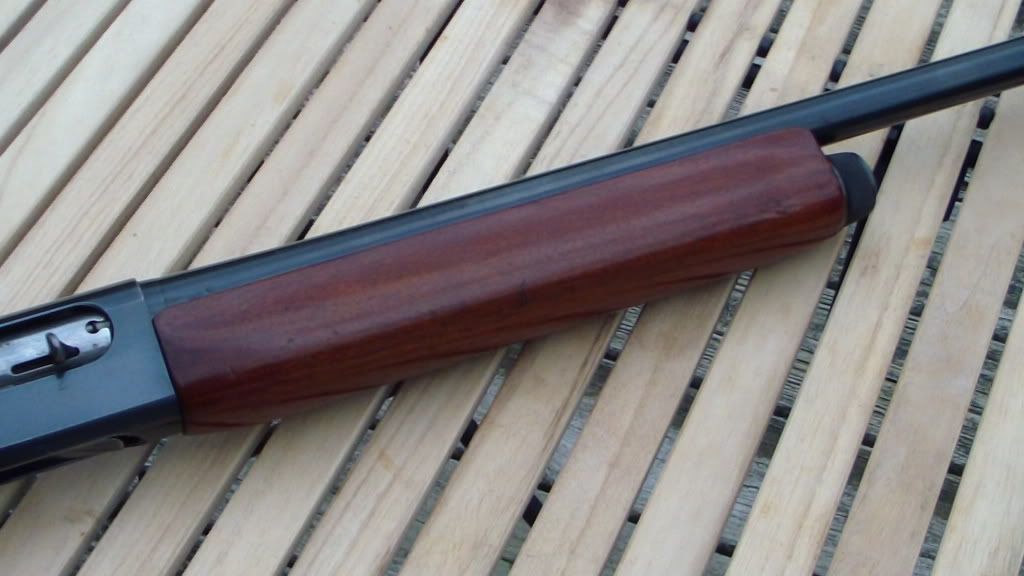
Once the cap has been removed, the barrel and forearm may be removed by sliding it forward out of the receiver.

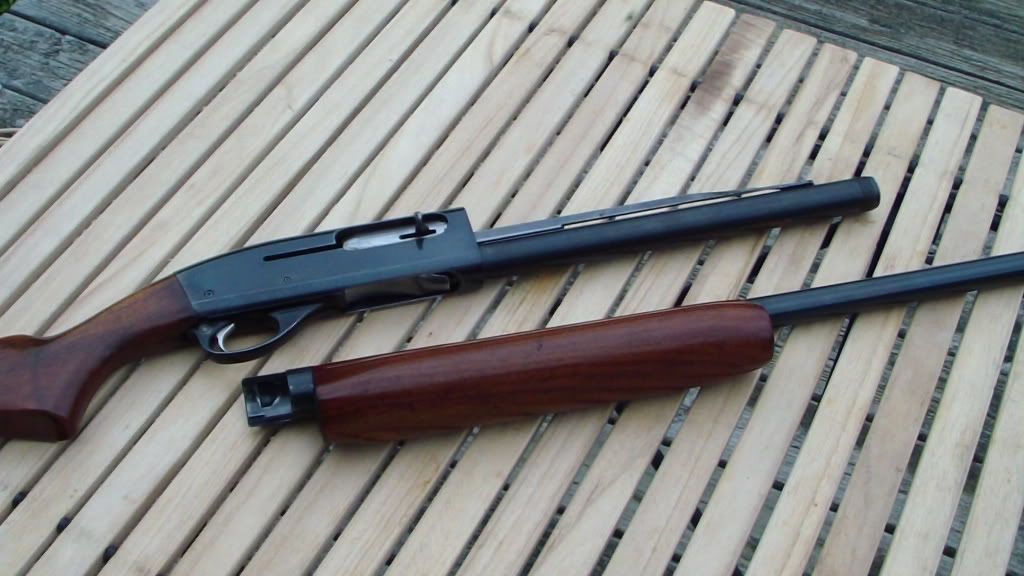
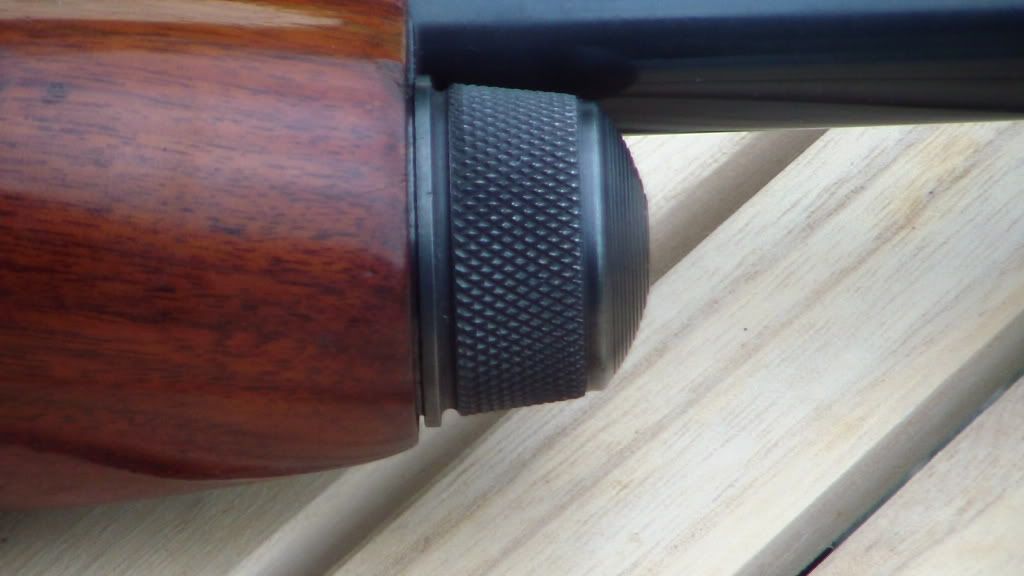
Now, the forearm may be removed from the barrel by sliding it off of the barrel ring.
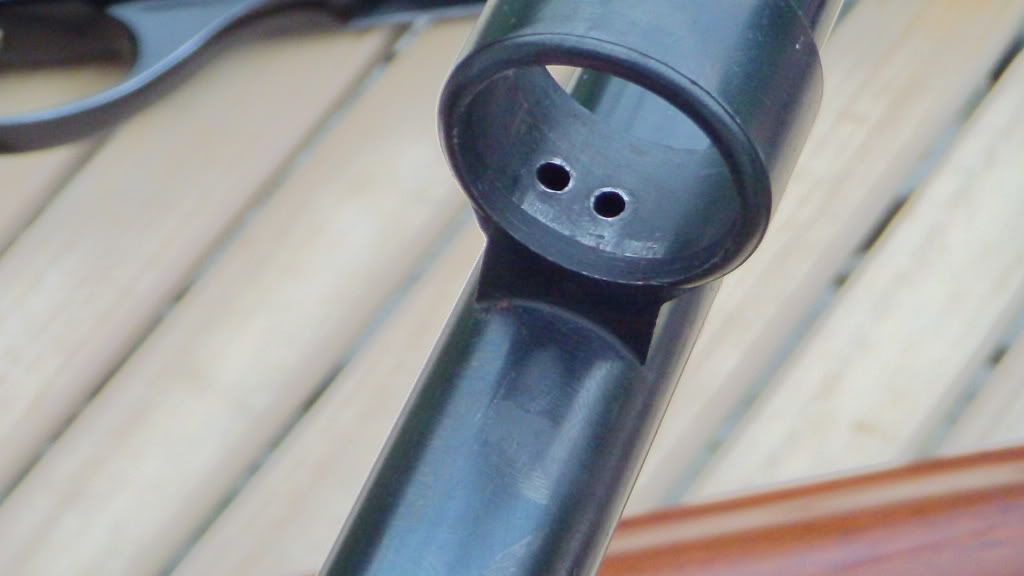
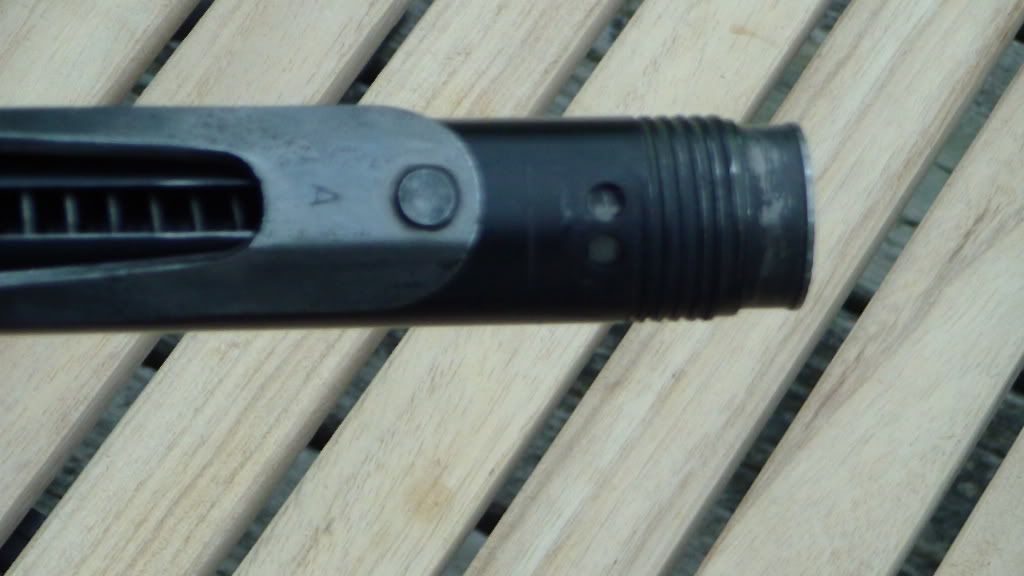
Here are the twin gas ports inside the barrel ring. You need to make sure that these are clean and free from obstructions.
Here are the corresponding ports on the magazine cylinder. Again, make sure to clean them out. Also visible, the action bar on the outside of the cylinder, which is connected to the piston assembly inside the cylinder.
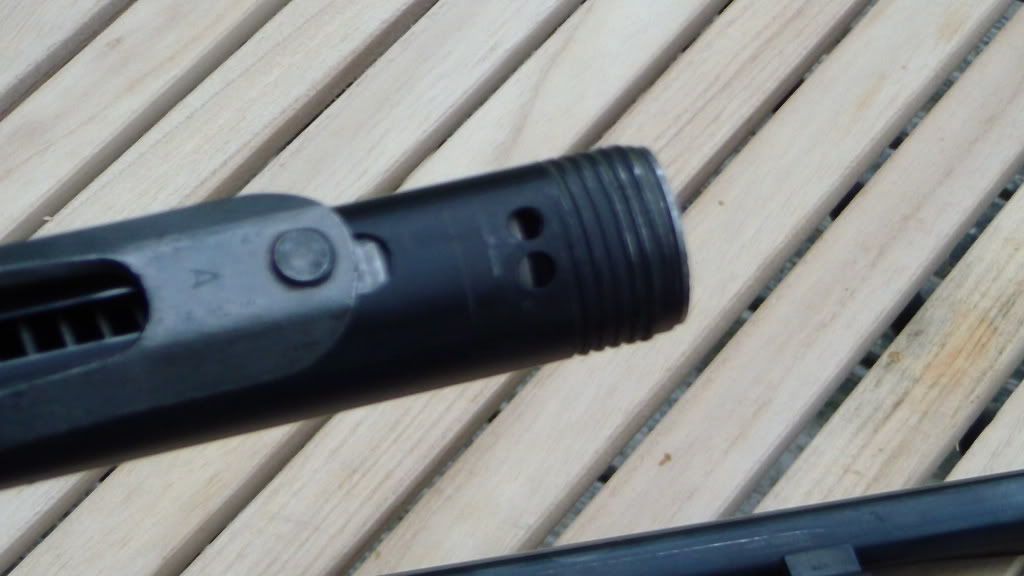
Here, I have opened the bolt, which pulls back the action bar and piston, to show the removal notch at the end of the action bar slot. Note: The bolt must be closed in order to proceed with take down — I have only opened it here for clarity. In order to remove the piston, the action bar must be released, allowing it to slide forward to that notch where it can be separated from the piston assembly.
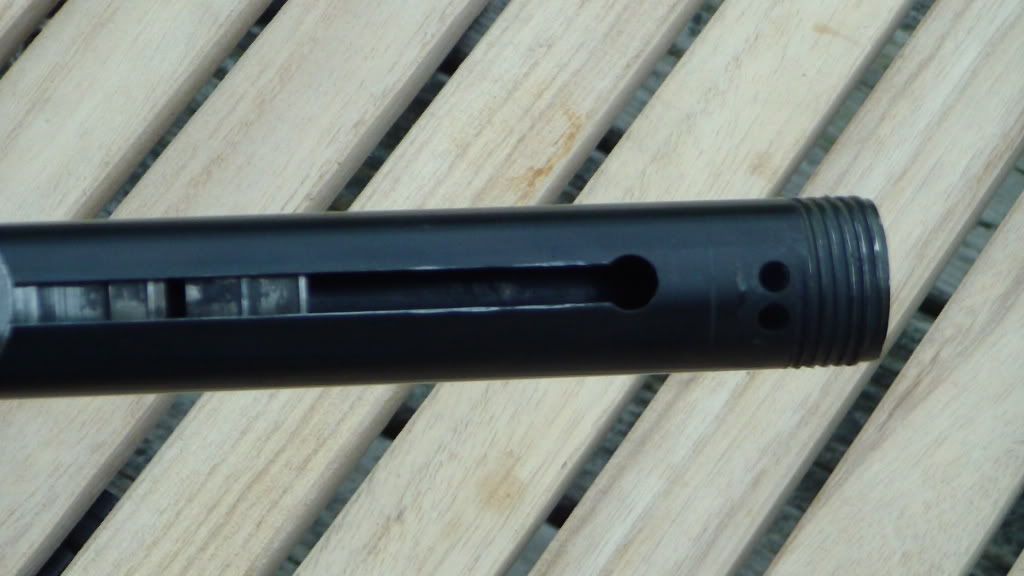
Here is a shot of the action bar, showing the retaining stud which connects the action bar to the piston. When the action bar is all the way forward to the removal notch, the front of the action bar is lifted up, removing the retaining stud from the piston assembly, freeing it for removal.

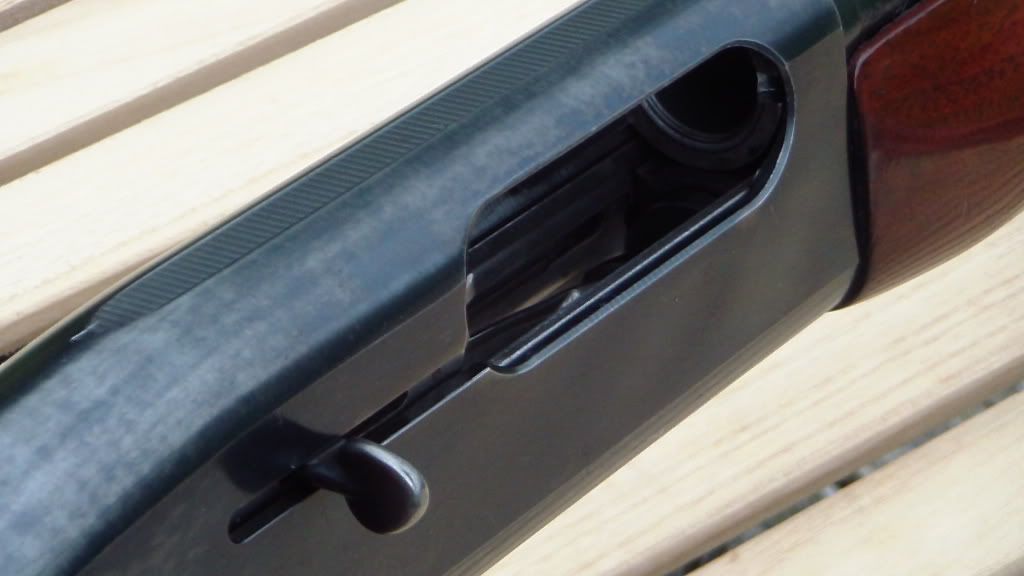
Now, to free up the action bar, first make sure the bolt is closed. Next, you will reach into the receiver through the loading hatch on the bottom, and press in on the left side shell latch. It is a flat bar located just inside the receiver, inside a groove against the side of the receiver. Press the latch in against the side of the receiver, and you will feel it release, and hear a “click,” after which the action bar may be slid freely forward to the removal notch.

Here, the action bar has been slid forward to the removal notch. You can see the tip of the piston sticking out of the end of the cylinder at this point.
Holding onto the piston, lift up on the action bar to pull the retaining stud out of its slot in the piston assembly. Note: The piston assembly is under pressure from the return spring! Make sure you retain control of the piston or it might be ejected violently from the cylinder, resulting in injury or property damage.

The piston assembly and return spring may then be removed from the cylinder. The retaining stud slot is now visible as a round hole on top of the piston.

The return spring may also be removed from the piston by sliding it out of the end of the piston.
The piston, spring, and cylinder may now be cleaned. A note on the bottom of the cylinder says that solvents and oil should not be used on the piston or the inside of the cylinder. How one is supposed to clean these parts without solvent, or protect from rust without oil, is a mystery to me. I just used a brass brush to knock the caked powder residue out of the cylinder and off of the spring and piston, wiped them off as best I could using a clean cloth, gave it a little shot of Rem DriLube (teflon), and called it good.
To reassemble, simply put the piston and spring back into the cylinder, push in on the piston until the slot and retaining stud are aligned, then push the stud into the slot reconnecting the action bar to the piston. Open the bolt, which will pull the action bar back, along with the piston, and the shell latch will return to its normal position. Slide the forearm back onto the barrel. While the bolt is still open, slide the barrel and forearm back into place making sure the barrel is fully seated into the receiver, then screw the magazine cap back on. Release the bolt by pressing in on the magazine follower. And you are done. It is not difficult at all once you know how to do it. When I get around to removing the bolt, I will post pictures of that process, as well.
All-in-all, I am happy that I was able to get this particular gun, as much because of its significance as a piece of firearms history, as because of its fine handling and performance. I think it will make a fine skeet gun, as well as for doves and upland fowl. So for those of you who are looking for a good autoloader for such applications, you might consider a good used Remington 878 Automaster… if you can find one.
© 2013, 2011
